Removed part
One card per part you took off. Same shape as the fastener form, and the same rule: the photo first, the words after.
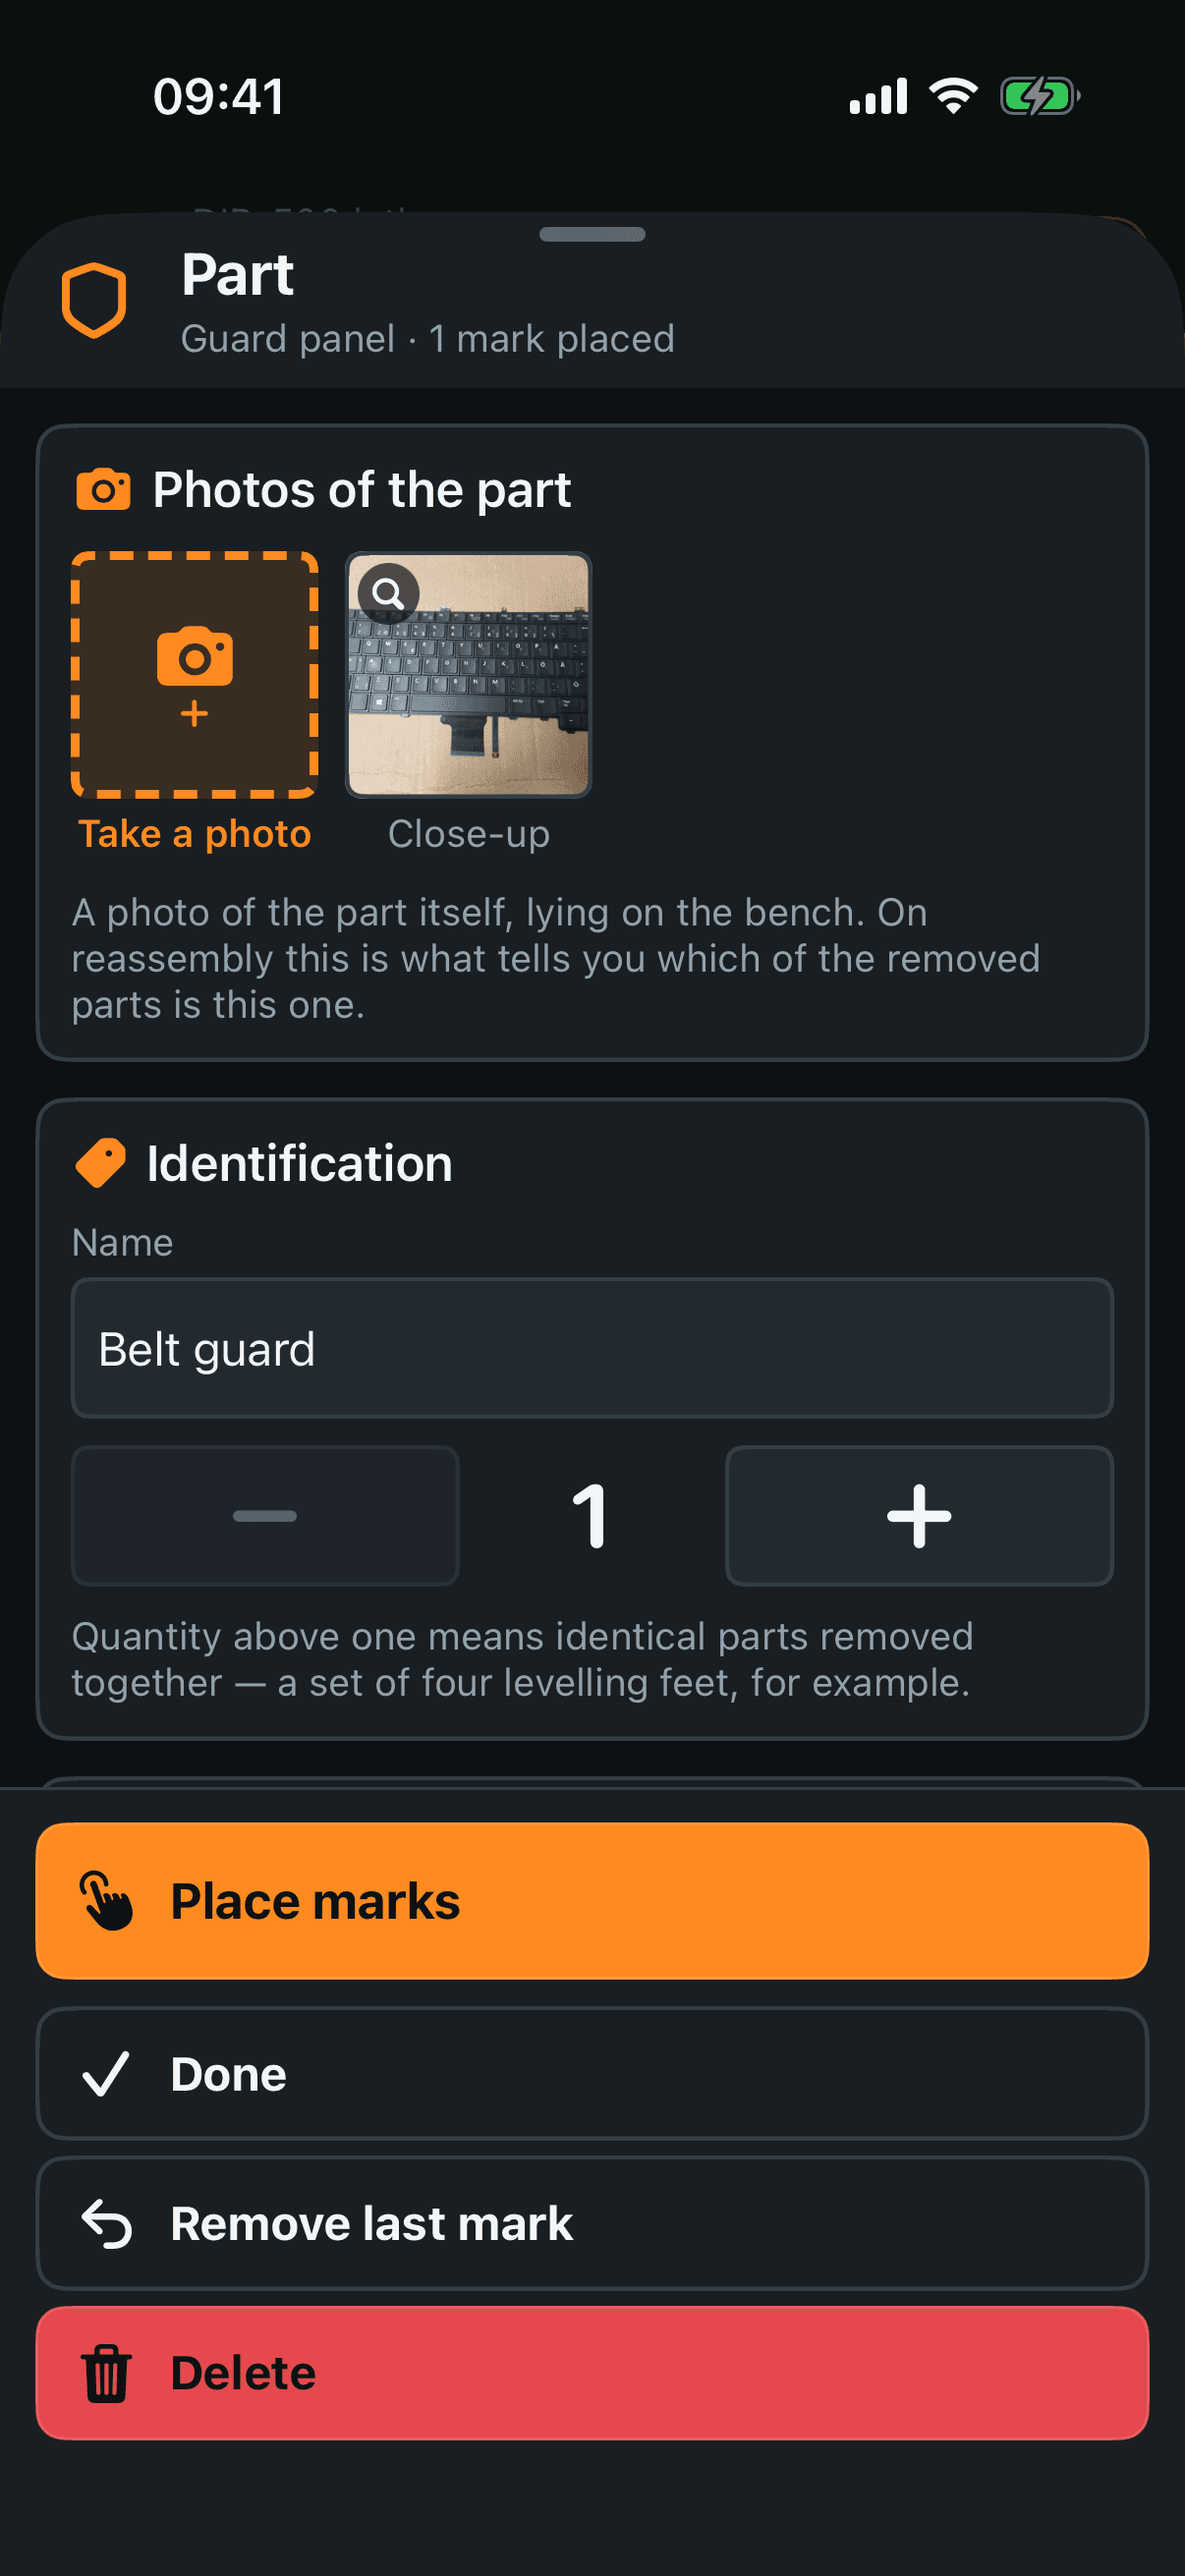
Photos of the part — the part itself on the bench. On reassembly this is what tells you which of the removed parts is this one. The camera is in the card; a photo opens full screen with a bin.
Name — what you call it. “Belt guard”.
− 1 + — quantity, for identical parts that came off together: a set of four levelling feet is one card, quantity four.
Category — twenty-one kinds, from housing and cover to sensor and hose, with a field of your own words under Other. What you type there replaces the category everywhere the part is named — on the screen, in the report and in the archive.
Mounted on — which part this one sat on. This is worth filling in: it is the only thing that tells the app what has to come off before what. Leave it empty and the assembly order is simply the list of steps, reversed — the assembly screen says as much, out loud.
Held by — which piles of screws held this part. The list shows every group of the step and says which are already claimed by another part.
Where it sat — the step photos this part is marked on, its own marks bright and the rest dimmed. Read only, same as in the fastener form.
Notes — “terminal box faces the operator side”.
Voice note — hold and say it.
The panel at the bottom
Place marks — closes the card and opens the working photo full screen; every tap marks another place this part sat. Section 4.
Remove last mark — takes back the last circle.
Done — closes the card. Nothing else to save.
Delete — removes the part and its marks after a question with both answers, and one undo is offered on the teardown screen afterwards.